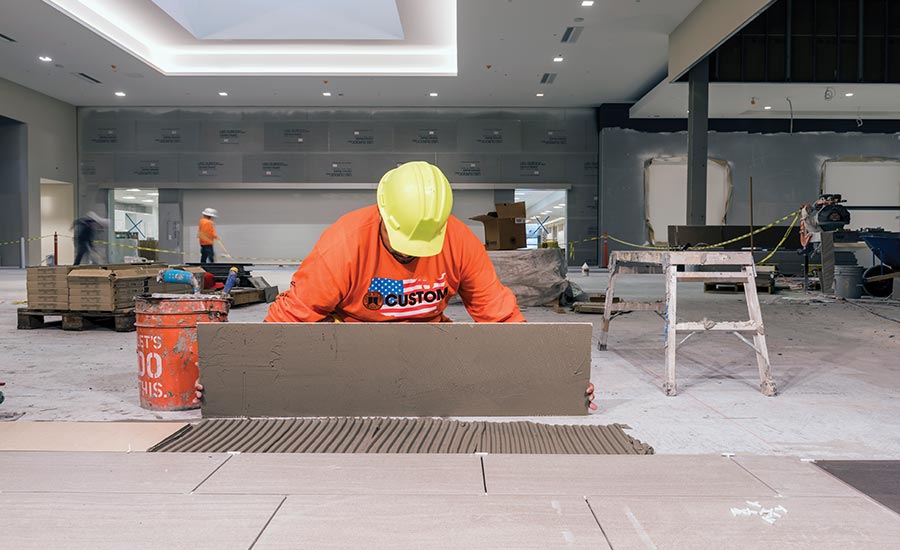
 Although a variety of flooring options are available, the majority of designers are specifying ceramic and stone tile for commercial and residential applications.
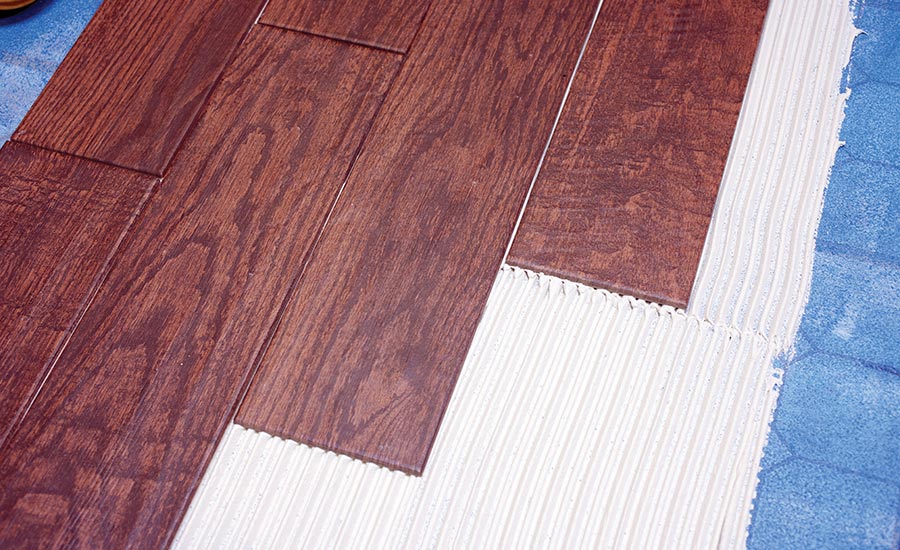
The use of a Multi-Surface Bonding Primer enables tiling over vinyl flooring.
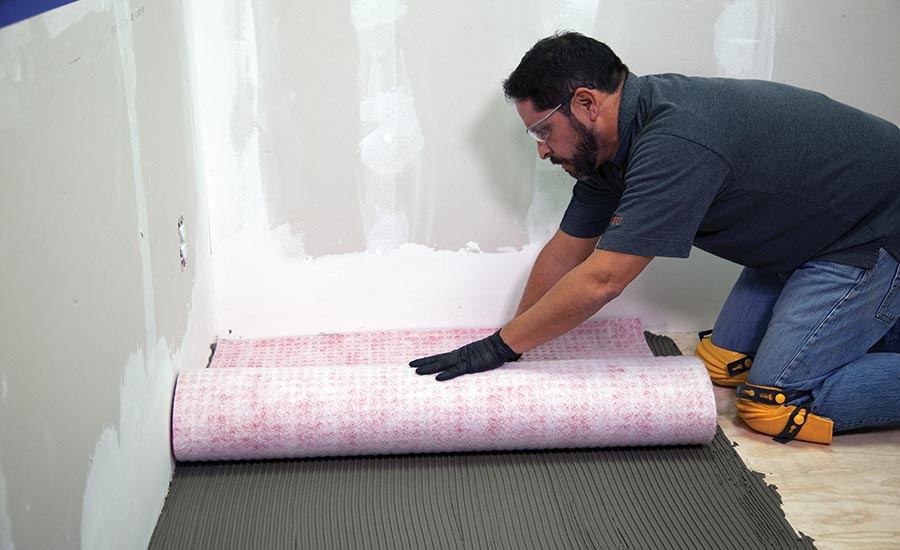
An uncoupling mat membrane can be used in place of a second layer of plywood.
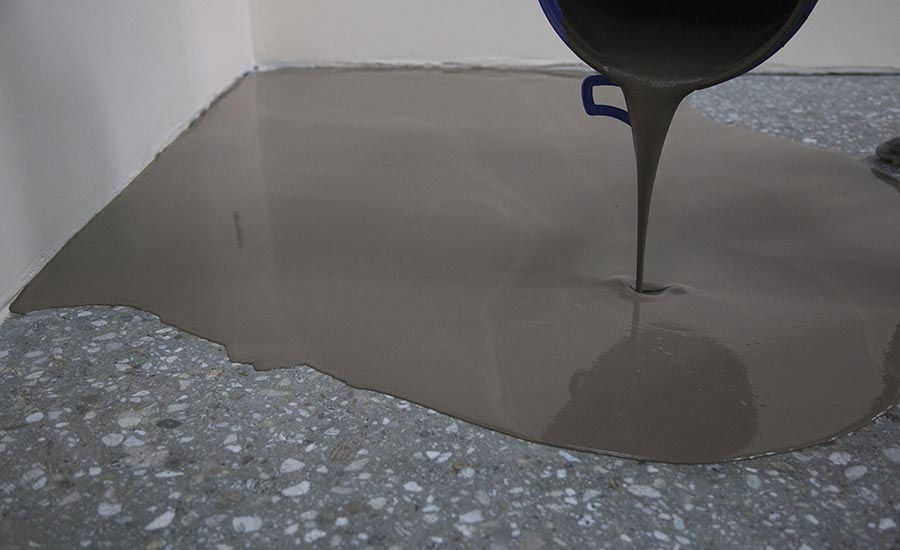
A self-leveling underlayment creates a flat floor to meet the requirements of large-format tile.
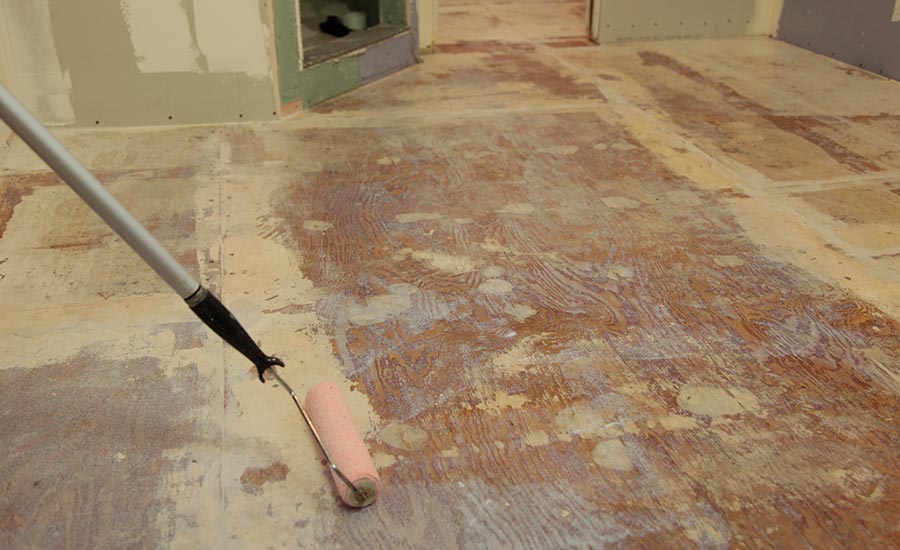 Make sure to apply primer before installing a lightweight self-leveling underlayment over plywood.
Learn How To Avoid Common Problems When Installing Tile For A Remodeling Project
The number of commercial and residential remodel projects has grown at a tremendous rate in the last 10 years. Most importantly, the majority of these homeowners and business owners are remodeling with ceramic tile. Carpet and vinyl are replaced with longer-lasting tile, old ceramic is upgraded to large-format porcelain and the popularity of natural stone tile keeps growing. All of this is great news for our industry, but it also raises some challenges that are specific to remodeling.The Challenge
First off, what’s driving the current trend for renovation? People are living longer and healthier lives, and homeowners want to enhance their existing homes. The rental market has never been more competitive or more lucrative, and investors remodel properties to make the highest possible return. Brick-and-mortar retailers are seeing their businesses lose out to the Internet and restaurants are threatened by a takeout mentality. They desperately need to attract and engage customers with eye-catching design. Former shopping malls are now converting to housing, hospitality and entertainment venues. All of these common scenarios lead to more remodeling projects.One common denominator is installing high-end tile materials that convey a sense of luxury. These larger, heavier, sometimes thinner tiles require more stringent floor flatness and levelness. Most of the challenges with remodels are centered around existing substrate conditions. Older floors and walls with their current or previous coverings may not be suitable for tile and may require significant surface prep work before tile can be installed.
The Problem
Here are some of the common substrate challenges tile installers may confront on a renovation project:•Old floor coverings have not been removed and must be demolished — or tiled over where possible.
•Old floor coverings have been removed and now layers of adhesives and contaminants are exposed.
•The floor was not designed to support the weight of ceramic or stone tile and does not meet maximum deflection requirements.
•The floor exhibits multiple elevations, such as where carpet and wood flooring, were laid in the same room.
•Thresholds offer a variety of elevations that must be matched by the new surface.
•In the case of expansions, new concrete may have been poured next to an old slab, or a wood subfloor may now be adjacent to an older concrete subfloor.
•Metal covers have been placed over access points.
The Solution
This is where the tile contractor’s tool kit — from professional experience to problem-solving products — starts to come in very handy. Understanding the limitations of the substrate, the remediation steps and the best methods for surface preparation are the keys to a successful remodel with tile or stone.Floor deflection for most ceramic tile must be less than 1/360 of the span of the floor and must be less than 1/720 for many natural stone tiles. Wood subfloors with excessive deflection will need to be reinforced before they can accept the added weight of tile and possible cement-based underlayments. Depending on the joist spacing, it may be possible to add a second layer to the existing wood subfloor, such as another layer of plywood or a cement backerboard. With extreme deflection, it may be necessary to add either diagonal or solid block braces between the joists to bring deflection into an acceptable range.
A traditional method of bringing a floor up to meet another level is creating an unbonded mortar bed of sand and concrete. There are a number of drawbacks to this approach. The bed must be a minimum of 1 1/2 inches deep, which may too tall for many applications, and necessarily adds a tremendous amount of weight to the floor. This type of bed also requires an installer with experience in the technique.
A lighter weight, thinner, modern alternative is application of a cementitious self-leveling underlayment (SLU). An SLU can typically be poured from 1/2 inch to 1 1/2 inches deep to accommodate a variety of elevation issues. In addition to leveling, a SLU provides a very flat subfloor to meet the requirements of large-format tile. For tile with one side longer than 15 inches, the maximum allowable substrate variation can be no more than 1/8 inch in 10 feet and 1/16 inch in 24 feet.
While SLUs weigh much less than mortar beds, they may still be too heavy for some floors. A lightweight SLU formulated with recycled content, such as LevelLite®, weighs 40% less than traditional SLUs, making it more suitable for use in multi-story construction. Prior to pouring any SLU, the floor must be prepared by filling all gaps and cavities, such as movement joints or where sheets of plywood abut. Some SLU products will require the use of a reinforcing lath before they can be used over plywood.
Another lightweight underlayment option is an uncoupling membrane, such as RedGard® Uncoupling Mat. These sheet-applied membranes provide crack isolation protection to the tile by absorbing stress from minor in-plane substrate movement. Uncoupling mats can be used over young concrete less than 28 days old where a property has been expanded with a new pour, and can also replace a second layer of plywood over wood subfloors. These products are very versatile, but do require an existing substrate that is already flat, level and suitable for tiling.
Where a bonding challenge is posed by the surface itself, such as non-porous concrete, cutback adhesives or epoxy coatings, a bonding primer can offer the solution. A Multi-Surface Bonding Primer (MBP) provides a textured surface without the use of mechanical abrasion and does not add height to the assembly. This allows the installation of new tile over existing floor coverings like well-bonded existing tile or vinyl flooring without the costly and time-consuming steps of demolition, removal and remediation.
Where weight and deflection issues are a concern, in addition to a lightweight underlayment, the tile assembly can be completed with a lighter mortar and grout. Mortars formulated with recycled content, such as MegaLite® and ProLite®, weigh 40% less than traditional mortars. They offer superior handling and are designed to provide support and crack prevention for large-format tiles. High performance lightweight grouts like Prism® weigh 30% less than traditional cement grouts. These benefits add up when tiling over existing tile or over a wooden subfloor.
When the retiling project involves retail, restaurant or other cash-driven operations, a quick turnaround time may be required. Rapid-setting formulas and options are available in SLUs, membranes, mortars and grouts to help meet deadlines on these jobs.
On remodel projects where slab pours of various ages and conditions may be present, particular attention should be paid to the concrete. Per the Tile Council of North America (TCNA) Handbook Detail EJ171, existing movement joints of all types must be honored and carried through the new underlayment and tile. Existing in-plane cracks may be relocated with use of a crack isolation membrane meeting ANSI A118.12, such as RedGard® or CrackBuster Pro®. Any dynamic or vertical cracks must be assessed by an engineer.
Ceramic, porcelain and natural stone tile are the perfect choice for both residential and commercial remodels. Tile conveys a sense of quality and class that is unmatched by any other flooring and yet it is durable enough for nearly any application. The end results make tile a smart investment in any property. With proper attention to surface preparation and setting materials, a tile assembly can last for a lifetime — or until it’s time for the next style refresh.
